How to make Leprechaun Gold Coins
I LOVE silicone molds!!! I have a weakness for them. Anytime I see one that I don't own I have a hard time not buying it! I especially love this new St. Patricks Day Mold that I bought. It has 4 different mold designs: Gold Coins, Pot of Gold, Leprechaun hat, and Shamrock. Today I want to show you the amazing gold coin mold.
Now you can use this mold more quite a few things. You can fill the mold with chocolate and it looks great on its own. You can fill it half way for a chocolate topper for a cupcake, or on a cake. You could put in a light coating of chocolate on the edge and then fill the rest with truffle or cake pop filling. And you can fit a mini oreo (not full size just the mini) in it and have it hidden in the chocolate shell. I am sure there might even be another use that I am not thinking of. If you can think of one comment below.
Here is how I made my coins, and make them look amazing.
You need the following:
St. Patrick's Day Silicone Mold
Yellow Coating Chocolate
Either Luster Dust or Gold Color Mist (You don't need them all, you can see in the pictures below what they look like and get the one that you like best.) I prefer the Antique Gold Luster Dust.
Antique Gold Luster Dust
Wilton Gold Pearl Dust
Gold Color Mist
Paint Brush only used for food.

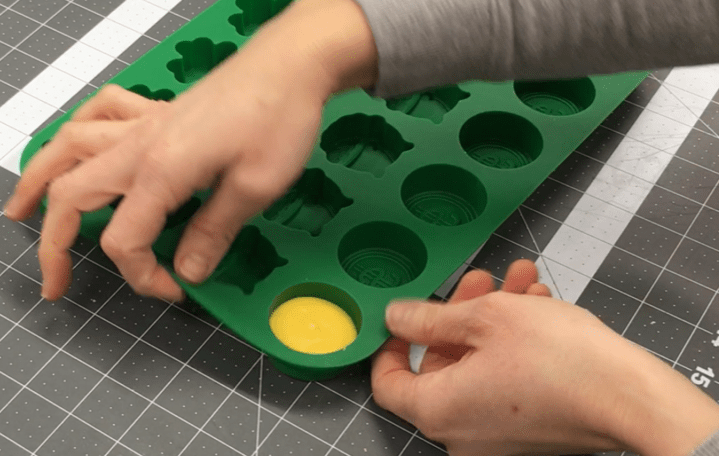
Fill the cavity half full if you want it to look like a realistic coin. It is a lot easier to fill them with a piping bag, but since I was making just a couple, I used a spoon.
 Tap the mold on your table to let the bubbles pop.
Once your molds are filled and tapped, chill them in the fridge until they have hardened and are ready to come out of the mold. Since they are silicone they are super easy to get out. If you ever have problems getting something out of the mold, flip the mold putting the chocolate side on the table and pull the mold off of the chocolate.
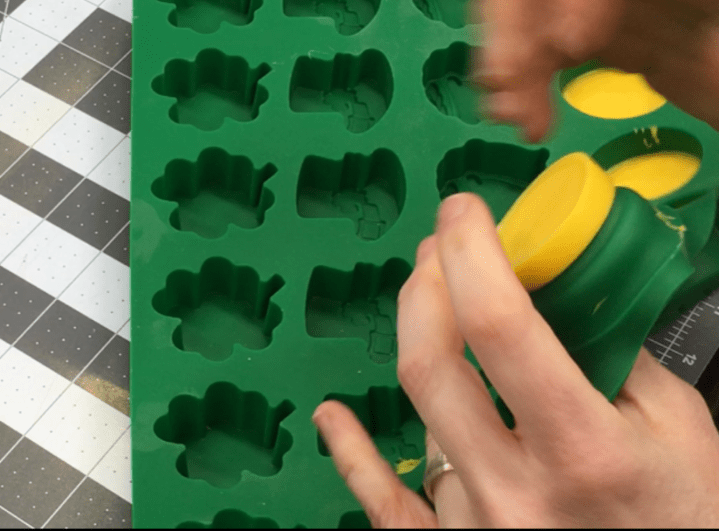
After chilling in the fridge or freezer pop them out of the mold.
Trim off any off edges with a sharp blade. You can see that this one had a mini Oreo inside of it.
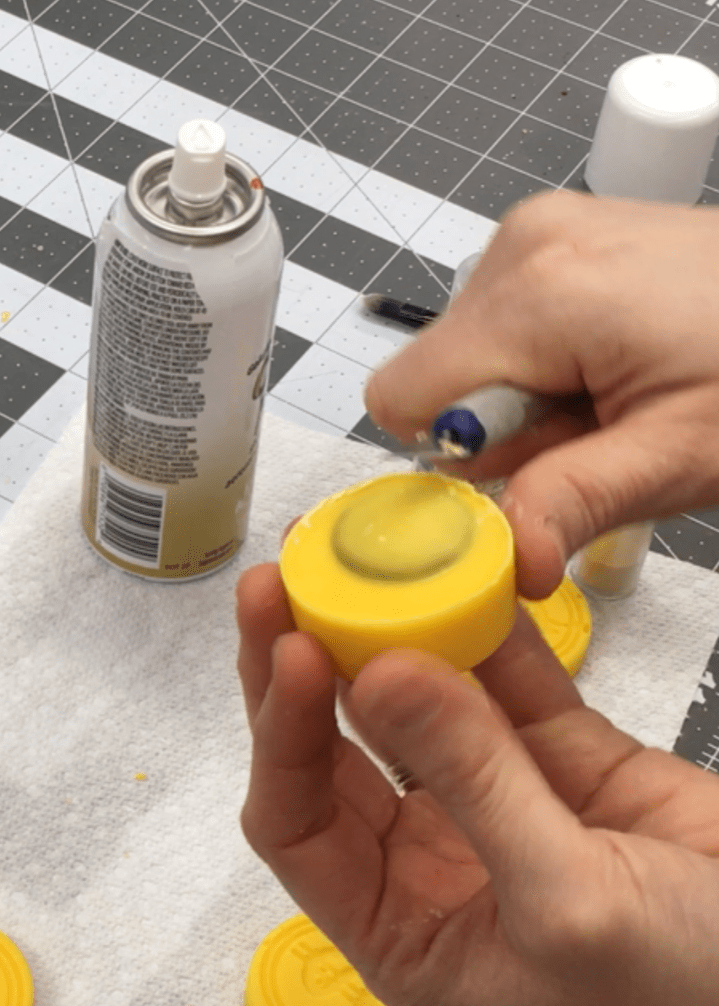
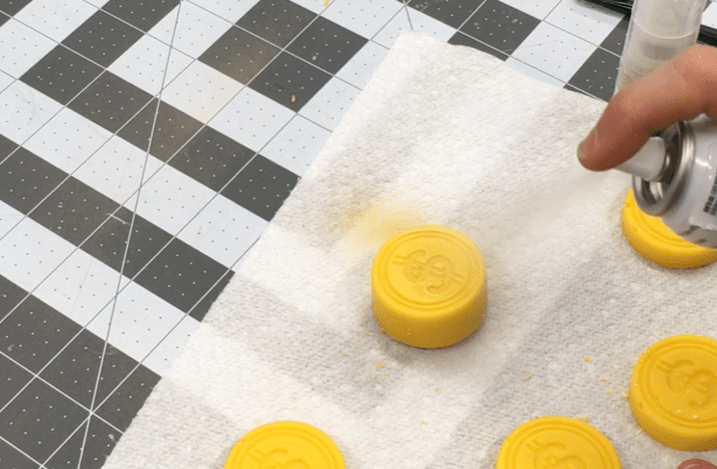 Here I am using Wilton's Gold Color Mist to add gold color to the yellow chocolate. When using the spray stay about 6 inches away from the item you are spraying. And don't spray too much on or it will puddle.
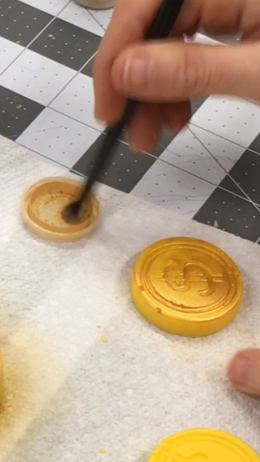
This coin is being dusted with Antique Gold luster dust! I love this one the best! it makes the coin look older like the Leprechaun has been hiding it for centuries.
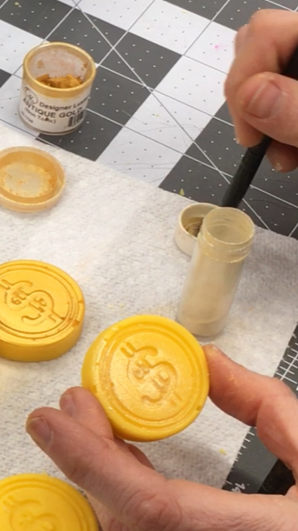
This coin is the Wilton gold dust, pretty, but I like the antique more.
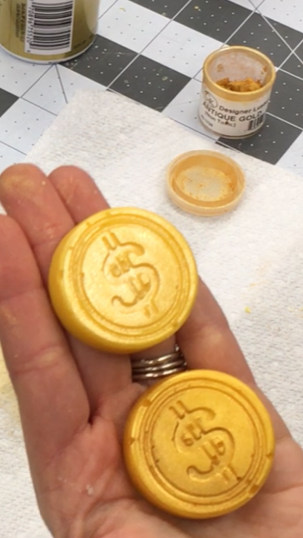
The top coin is the Wilton Gold Luster Dust and the Bottom is the Antique Gold Luster Dust.
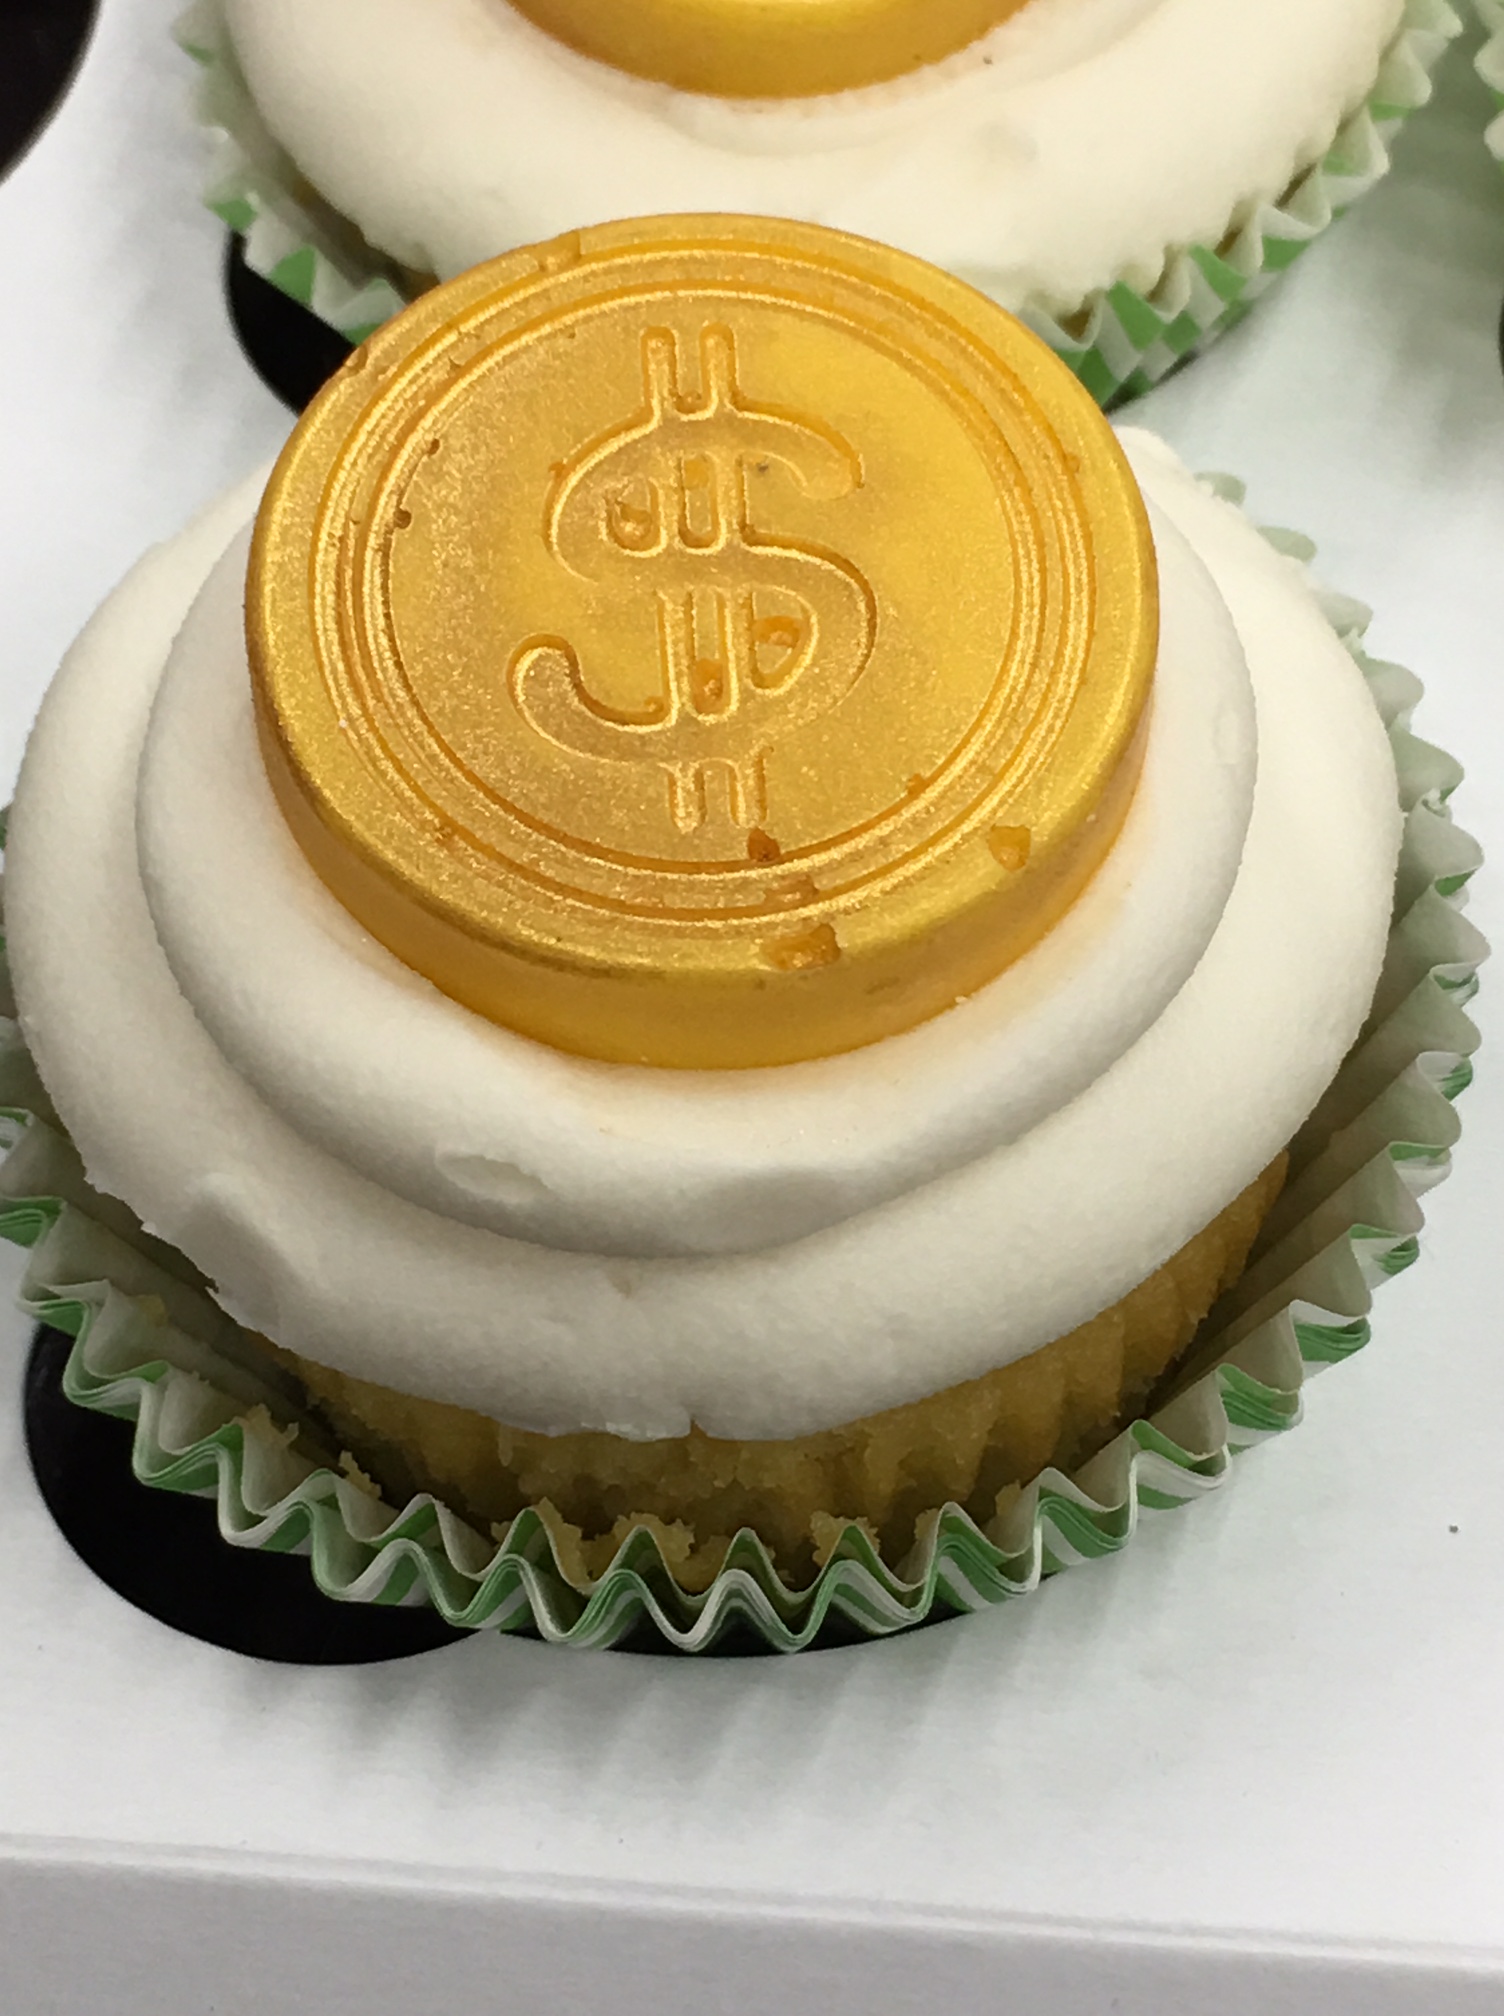
Add them to your cupcakes and enjoy!
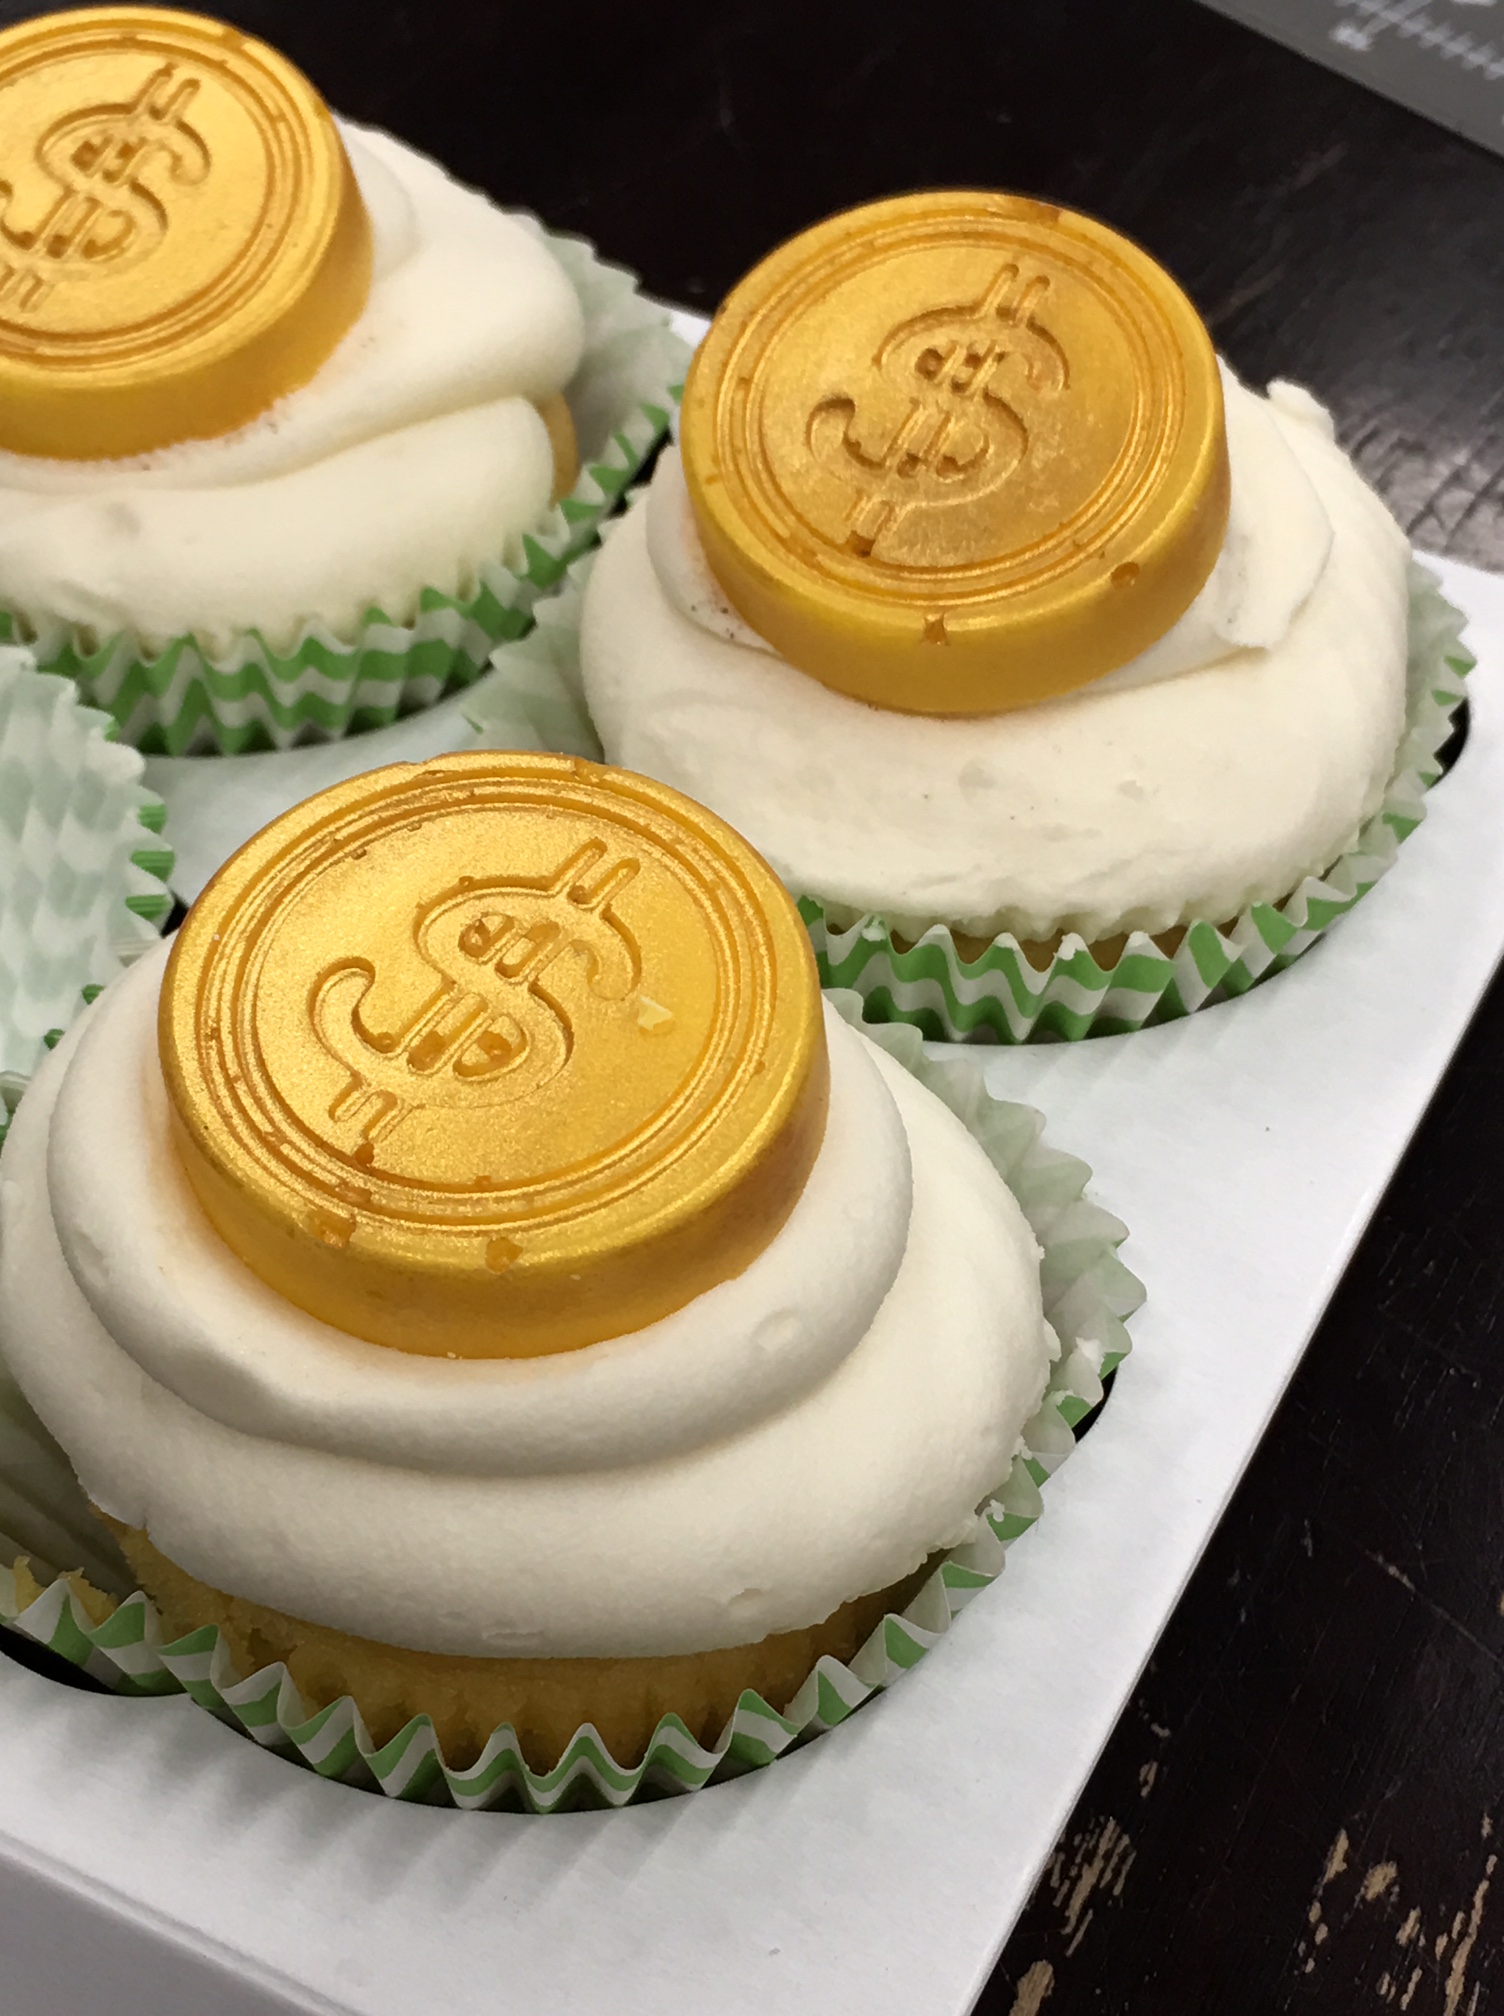
Now don't those coins look pretty cool! Make some coins and share what you do with them!
Here is what you need again:
St. Patrick's Day Silicone Mold
Yellow Coating Chocolate
Antique Gold Luster Dust
Wilton Gold Pearl Dust
Gold Color Mist
Paint Brush only used for food.
Now you can use this mold more quite a few things. You can fill the mold with chocolate and it looks great on its own. You can fill it half way for a chocolate topper for a cupcake, or on a cake. You could put in a light coating of chocolate on the edge and then fill the rest with truffle or cake pop filling. And you can fit a mini oreo (not full size just the mini) in it and have it hidden in the chocolate shell. I am sure there might even be another use that I am not thinking of. If you can think of one comment below.
Here is how I made my coins, and make them look amazing.
You need the following:
St. Patrick's Day Silicone Mold
Yellow Coating Chocolate
Either Luster Dust or Gold Color Mist (You don't need them all, you can see in the pictures below what they look like and get the one that you like best.) I prefer the Antique Gold Luster Dust.
Antique Gold Luster Dust
Wilton Gold Pearl Dust
Gold Color Mist
Paint Brush only used for food.
Here is how to make your amazing coins!
First melt your yellow chocolate, either with a double broiler on a simmer or carefully in the microwave. Never use high heat when melting chocolate or you will burn it and it will be thick and never thin out. When using a microwave I do 30 second bursts on half power a couple times in a plastic bowl (glass will retain the heat more than plastic) and stir between each 30 seconds. After 2 30 second bursts I do 15 second bursts in the microwave and stir between each so I don't over heat it. You want it silky and runny for best results. When there are only small chunks left just keep stirring and they will melt.Fill the cavity half full if you want it to look like a realistic coin. It is a lot easier to fill them with a piping bag, but since I was making just a couple, I used a spoon.
Tap the mold on your table to let the bubbles pop.Once your molds are filled and tapped, chill them in the fridge until they have hardened and are ready to come out of the mold. Since they are silicone they are super easy to get out. If you ever have problems getting something out of the mold, flip the mold putting the chocolate side on the table and pull the mold off of the chocolate.
After chilling in the fridge or freezer pop them out of the mold.
Trim off any off edges with a sharp blade. You can see that this one had a mini Oreo inside of it.
Here I am using Wilton's Gold Color Mist to add gold color to the yellow chocolate. When using the spray stay about 6 inches away from the item you are spraying. And don't spray too much on or it will puddle.This coin is being dusted with Antique Gold luster dust! I love this one the best! it makes the coin look older like the Leprechaun has been hiding it for centuries.
This coin is the Wilton gold dust, pretty, but I like the antique more.
The top coin is the Wilton Gold Luster Dust and the Bottom is the Antique Gold Luster Dust.
Add them to your cupcakes and enjoy!
Now don't those coins look pretty cool! Make some coins and share what you do with them!
Here is what you need again:
St. Patrick's Day Silicone Mold
Yellow Coating Chocolate
Antique Gold Luster Dust
Wilton Gold Pearl Dust
Gold Color Mist
Paint Brush only used for food.


Comments
Post a Comment